✓ Building your own PC often saves money compared to pre-builts.
✓ Component selection depends heavily on your budget and desired gaming performance.
✓ Switzerland has unique retail landscapes and pricing for PC parts.
✓ Careful research into compatibility is crucial for a successful build.
How It Works
1
Define Your Budget & Performance Goals
Determine how much you're willing to spend and what games you want to play at what settings. This forms the foundation for all your component choices.
2
Research & Select Components
Dive into understanding CPUs, GPUs, RAM, storage, and other parts. Focus on compatibility and performance within your budget, keeping Swiss pricing in mind.
3
Source Parts Locally & Online
Identify reliable Swiss retailers and international options for purchasing your components. Compare prices, shipping, and warranty policies carefully.
4
Assemble Your Gaming PC
Follow step-by-step instructions for putting your components together. This includes mounting the motherboard, installing the CPU, GPU, RAM, and connecting cables.
Navigating the Swiss Market for PC Components
Photo: Mathias Reding / Pexels
Building a gaming PC in Switzerland presents a unique set of challenges and opportunities compared to other countries. While Switzerland boasts a high standard of living, this often translates to higher prices for electronics, including PC components. However, this doesn't mean building a powerful gaming rig is out of reach; it simply requires a more strategic approach to sourcing parts. The first step involves understanding the local retail landscape. Major electronics retailers like Digitec Galaxus, Brack.ch, and Interdiscount are key players. Digitec Galaxus, in particular, is a dominant force, offering a vast selection of PC components, competitive pricing (often with daily deals), and excellent customer service, including fast shipping within Switzerland. They are frequently the go-to for most Swiss PC builders. Brack.ch also offers a strong selection, often with good bundle deals or specific promotions. Smaller, specialized PC shops might exist in larger cities, but their stock and pricing can be more variable. Exploring local deals and comparing prices across these platforms is paramount. Beyond local retailers, you might consider international options, though this comes with caveats. Websites like Amazon.de (Germany) or Amazon.fr (France) can sometimes offer lower base prices, but you must factor in shipping costs, potential import duties, and VAT differences. Switzerland has a relatively low VAT rate (currently 7.7%), but if you order from an EU country, you might pay their higher VAT, then reclaim it, and then pay Swiss VAT upon import, which can be a complex and time-consuming process. Additionally, warranty claims can be more complicated when purchasing internationally. Therefore, for most components, especially high-value items like GPUs and CPUs, purchasing within Switzerland is often the most straightforward and safest option, even if the initial price seems slightly higher. Keep an eye out for seasonal sales events like Black Friday, Cyber Monday, or end-of-year clearances, as these can offer significant discounts on components. Subscribing to newsletters from major Swiss retailers can help you stay informed about upcoming sales. Furthermore, consider the secondary market for certain components. Platforms like Tutti.ch or Ricardo.ch can be good sources for used GPUs or CPUs, but exercise extreme caution, verify seller reputation, and ideally, test components before final purchase to avoid scams. The Swiss market, while premium, offers robust consumer protections and reliable logistics, making a local build a generally smooth experience once you know where to look.
Essential Components: A Deep Dive into Gaming PC Hardware
Photo: Necroform Art / Pexels
Building a gaming PC requires a careful selection of several key components, each playing a vital role in overall performance. Understanding what each part does and how it interacts with others is crucial for a balanced and powerful system.
**Central Processing Unit (CPU):** The brain of your PC, responsible for executing instructions. For gaming, you'll generally choose between Intel's Core i5/i7/i9 series or AMD's Ryzen 5/7/9 series. Modern gaming benefits from higher clock speeds and a good number of cores (6-8 cores are excellent for most gaming). For example, an Intel Core i5-13600K or an AMD Ryzen 7 7700X offers a fantastic balance of gaming performance and multitasking capability. Ensure the CPU's socket type (e.g., LGA 1700 for recent Intel, AM5 for recent AMD) matches your chosen motherboard.
**Graphics Processing Unit (GPU):** This is arguably the most critical component for gaming performance. The GPU renders all the visuals you see on your screen. NVIDIA's GeForce RTX series (e.g., RTX 4070, RTX 4080) and AMD's Radeon RX series (e.g., RX 7800 XT, RX 7900 XT) are the main contenders. Your choice here will largely dictate what resolutions and frame rates you can achieve in games. A higher-end GPU will allow for smoother gameplay at 1440p or 4K, while a mid-range GPU is perfect for 1080p high refresh rate gaming. This is often the most expensive single component.
**Motherboard:** The central hub that connects all your components. Its main function is to provide communication pathways between the CPU, GPU, RAM, storage, and peripherals. Key considerations include the CPU socket, RAM slots (DDR4 vs. DDR5), PCIe slots for the GPU and NVMe SSDs, USB ports, and network connectivity (Wi-Fi 6E is a great plus). Brands like ASUS, MSI, Gigabyte, and ASRock are popular choices. Ensure the motherboard's chipset (e.g., B760/Z790 for Intel, B650/X670 for AMD) supports your chosen CPU generation.
**Random Access Memory (RAM):** RAM acts as short-term memory for your computer, storing data that the CPU needs to access quickly. For gaming, 16GB is the current sweet spot, with 32GB becoming increasingly common for future-proofing and demanding titles. Look for DDR4 or DDR5 memory with speeds of 3200MHz (DDR4) or 6000MHz (DDR5) or higher. Dual-channel configurations (two sticks of RAM) are always preferred over a single stick for better performance.
**Storage:** You'll need storage for your operating system, games, and other files. A Solid State Drive (SSD) is mandatory for the operating system and essential games due to its speed. NVMe M.2 SSDs (e.g., Samsung 970 EVO Plus, Crucial P5 Plus) are significantly faster than traditional SATA SSDs and are highly recommended. For mass storage of less frequently played games or media, a larger, cheaper Hard Disk Drive (HDD) can be a cost-effective addition, though many modern builds opt for multiple SSDs.
**Power Supply Unit (PSU):** The PSU provides power to all your components. It's crucial not to skimp on this. Choose a reputable brand (e.g., Seasonic, Corsair, be quiet!, EVGA) and ensure it has enough wattage to power your CPU and GPU, plus some headroom (e.g., 650W-850W for most gaming builds). Look for 80 Plus Bronze, Gold, or Platinum ratings for efficiency. A modular or semi-modular PSU will make cable management much easier.
**PC Case:** This houses all your components. Beyond aesthetics, consider airflow, cable management options, and compatibility with your motherboard size (ATX, Micro-ATX, Mini-ITX) and GPU length. Good airflow is vital for keeping components cool and preventing thermal throttling. Popular brands include Lian Li, Fractal Design, NZXT, and Corsair.
**Cooling:** While some CPUs come with stock coolers, dedicated CPU coolers (either air coolers like the Noctua NH-D15 or liquid AIO coolers like the Arctic Liquid Freezer II) are highly recommended for gaming to keep temperatures down and maintain boost clocks. Cases often come with some fans, but adding more for optimal airflow is frequently beneficial.
Assembling Your Dream Machine: A Step-by-Step Guide
Photo: Andrey Matveev / Pexels
The actual assembly of your gaming PC, while seemingly daunting, is a highly rewarding process. With patience and a systematic approach, anyone can do it. Before you begin, gather all your components, your motherboard manual, a Phillips head screwdriver, zip ties or Velcro straps for cable management, and anti-static precautions (an anti-static wrist strap is ideal, or at least work on a non-carpeted surface and touch a grounded metal object regularly).
1. **Prepare the Case:** Open your PC case and remove any panels. Familiarize yourself with the layout, fan mounts, and cable routing options. If your case comes with pre-installed standoffs for the motherboard, ensure they match your motherboard's form factor (ATX, Micro-ATX, etc.).
2. **Install the CPU:** Carefully open the CPU socket lever on your motherboard. Align the triangular arrow on your CPU with the corresponding mark on the socket. Gently place the CPU into the socket; it should drop in without force. Close the lever to secure it. Do NOT force the CPU as bent pins can render it useless.
3. **Install the CPU Cooler:** If using a stock cooler, apply thermal paste (if not pre-applied) and mount it according to the instructions. For aftermarket air coolers or AIO liquid coolers, follow their specific mounting procedures. Ensure good contact between the cooler's base and the CPU's heat spreader. Connect the CPU fan header to the motherboard.
4. **Install RAM:** Open the clips on the RAM slots. Align the notch on your RAM sticks with the notch in the slot. Press firmly and evenly on both ends of the RAM stick until the clips snap into place. Refer to your motherboard manual for the correct slots for dual-channel configuration (usually slots 2 and 4, or 1 and 3).
5. **Mount the Motherboard:** Carefully place the assembled motherboard into the case, aligning the screw holes with the standoffs. Secure it with the appropriate screws. Ensure the I/O shield (the metal plate with ports) is properly installed in the case before mounting the motherboard, if it's not integrated.
6. **Install Storage:** If you have an NVMe SSD, locate the M.2 slot on your motherboard. Insert the SSD at an angle and push it down, securing it with the small screw. For SATA SSDs or HDDs, mount them in the drive bays and connect the SATA data and power cables.
7. **Install the Graphics Card (GPU):** Open the PCIe slot latch on the motherboard. Align your GPU with the top PCIe x16 slot. Press it firmly into the slot until the latch clicks. Secure the GPU to the case with screws. Connect the necessary PCIe power cables from the PSU to the GPU.
8. **Install the Power Supply (PSU):** Mount the PSU in its designated bay, usually at the bottom or top rear of the case. Secure it with screws. Begin connecting the major power cables: the 24-pin ATX power to the motherboard, the 8-pin (or 4+4-pin) EPS power to the CPU, and the PCIe power cables to the GPU.
9. **Connect Case Cables:** Connect the front panel connectors (power switch, reset switch, USB ports, audio jacks, LED indicators) to the motherboard. This is often the trickiest part; refer to your motherboard manual for the correct pinouts. Connect any case fan headers to the motherboard.
10. **Cable Management:** Route all cables neatly behind the motherboard tray using zip ties or Velcro straps. Good cable management improves airflow and makes your build look much cleaner. Optimizing airflow is key for longevity.
11. **Initial Boot & BIOS Setup:** Connect your monitor, keyboard, and mouse. Power on the PC. If everything is connected correctly, you should see the BIOS/UEFI screen. Enter the BIOS to verify all components are detected, set the correct RAM speed (enable XMP/DOCP), and set your boot order. Then, proceed with installing your operating system (Windows, Linux, etc.) from a USB drive.
Optimizing Your Build and Avoiding Common Pitfalls
Photo: Andrey Matveev / Pexels
Once your gaming PC is assembled, the journey isn't quite over. Optimization and vigilance against common pitfalls can significantly enhance your gaming experience and the longevity of your machine.
**Software Optimization:**
* **Drivers:** The first and most crucial step after OS installation is installing the latest drivers for your GPU (NVIDIA GeForce Experience or AMD Radeon Software), chipset, and other peripherals. Outdated drivers are a common cause of performance issues and instability.
* **BIOS/UEFI Settings:** Ensure XMP (Intel) or DOCP (AMD) is enabled for your RAM to run at its advertised speed. Check fan curves to ensure adequate cooling without excessive noise. Disable any unused integrated peripherals.
* **Operating System Settings:** Optimize Windows for gaming. This includes disabling unnecessary background apps, adjusting power settings to 'High Performance', and ensuring game mode is active. Keep your OS updated.
* **Game Settings:** Experiment with in-game graphics settings. Not all settings need to be on 'Ultra'. Adjusting shadows, anti-aliasing, or volumetric clouds can often yield significant FPS gains with minimal visual impact.
**Hardware Optimization & Maintenance:**
* **Airflow:** Ensure your case fans are configured for optimal airflow (e.g., front intake, rear/top exhaust). Regularly clean dust filters and fan blades to prevent dust buildup, which can hinder cooling performance.
* **Temperatures:** Monitor CPU and GPU temperatures using software like HWMonitor or MSI Afterburner. High temperatures can lead to thermal throttling, reducing performance. Aim for CPU temps under 85°C and GPU temps under 80°C under load.
* **Cable Management:** Beyond aesthetics, good cable management prevents cables from obstructing airflow, contributing to better cooling.
* **Storage Management:** Keep your primary SSD with the OS and frequently played games from getting too full (ideally below 75% capacity) to maintain optimal performance. Regularly delete unnecessary files and uninstall unused programs.
**Common Pitfalls to Avoid:**
* **Bottlenecking:** This occurs when one component limits the performance of another. A common example is pairing a very powerful GPU with a very weak CPU, or vice-versa. Aim for a balanced build where components are roughly on the same performance tier. Use online bottleneck calculators as a rough guide, but don't rely on them exclusively.
* **Incompatible Parts:** Double-check motherboard socket type with CPU, RAM type (DDR4 vs. DDR5), and PSU wattage with total system power draw. Websites like PCPartPicker are invaluable for checking compatibility.
* **Ignoring Cooling:** Overheating components lead to instability, reduced performance, and a shorter lifespan. Don't underestimate the importance of a good CPU cooler and adequate case airflow.
* **Skimping on PSU:** A cheap, unreliable PSU can damage components or cause system instability. Invest in a reputable brand with sufficient wattage and an 80 Plus rating.
* **Bad Cable Management:** Not just for looks, poor cable management can impede airflow, making your system run hotter.
* **Impatience:** Rushing the build process can lead to mistakes like bent CPU pins, improperly seated components, or incorrect cable connections. Take your time, refer to manuals, and watch video guides.
* **Forgetting to Update Drivers:** A brand new PC with generic drivers will underperform significantly. Always install the latest drivers for all your components.
By following these tips and avoiding these common errors, your custom-built gaming PC will not only deliver excellent performance but also remain a reliable and enjoyable machine for years to come. Enjoy your Swiss-crafted gaming powerhouse!
Comparison
Feature
Best Option (High-End)
Alternative 1 (Mid-Range)
Alternative 2 (Budget-Friendly)
CPU
Intel Core i7-14700K / AMD Ryzen 7 7800X3D
Intel Core i5-13600K / AMD Ryzen 5 7600X
Intel Core i5-12400F / AMD Ryzen 5 5600
GPU
NVIDIA RTX 4080 / AMD RX 7900 XTX
NVIDIA RTX 4070 / AMD RX 7800 XT
NVIDIA RTX 4060 / AMD RX 6600
RAM
32GB DDR5-6000MHz+
16GB DDR5-6000MHz
16GB DDR4-3200MHz
Storage
2TB NVMe Gen4 SSD
1TB NVMe Gen4 SSD
500GB NVMe Gen3 SSD + 1TB HDD
PSU
850W 80+ Gold/Platinum
750W 80+ Gold
600W 80+ Bronze
Cooling
240mm/280mm AIO Liquid Cooler
High-End Air Cooler (e.g., Noctua NH-D15)
Mid-Range Air Cooler (e.g., Deepcool AG400)
Motherboard
Z790 / X670E
B760 / B650
H610 / A520
What Our Readers Say
5★★★★★
"This gaming PC build guide for Switzerland was a lifesaver! I saved hundreds of francs by sourcing parts myself instead of buying a pre-built. The local retailer recommendations were spot on, especially Digitec."
Marc S.Zurich, CH
5★★★★★
"As a first-time builder, I was intimidated, but this guide broke down every step. My custom gaming PC in Switzerland runs flawlessly, and I'm so proud I built it myself."
Sophie L.Geneva, CH
5★★★★★
"The detailed component breakdown helped me understand what I needed without overspending. My new gaming rig handles Cyberpunk 2077 at high settings, which was my main goal after reading this gaming pc build guide switzerland."
Thomas K.Bern, CH
4★★★★☆
"The guide is incredibly thorough, though navigating the international vs. local purchasing options still required a bit of extra research for my specific budget. Still, the core advice on parts and assembly was invaluable."
Elena R.Lausanne, CH
5★★★★★
"From budget planning to the final cable management, this gaming pc build guide switzerland covered everything. My kids now have an amazing gaming machine, and I learned a ton in the process."
Pascal H.Basel, CH
Frequently Asked Questions
Is it really cheaper to build a gaming PC in Switzerland than to buy a pre-built one?
Generally, yes. While individual component prices might seem high, assembling a PC yourself often saves you the 'builder's premium' charged by system integrators. You also have more control over component quality and can optimize your budget more effectively for your specific needs, often resulting in better performance for your money.
What are the best places to buy PC components in Switzerland?
Digitec Galaxus and Brack.ch are the two dominant and most reliable retailers for PC components in Switzerland, offering wide selections, competitive pricing, and good customer service. Interdiscount also carries some components, and specialized shops might be found in larger cities. Always compare prices across these platforms.
How difficult is it to assemble a gaming PC for a beginner?
Assembling a gaming PC is often described as adult LEGO. While it requires patience and attention to detail, it's not inherently difficult. Modern components are designed to be user-friendly, and countless video tutorials and guides (including this one) can walk you through each step. The key is to take your time and follow instructions carefully.
What's a realistic budget for a decent gaming PC in Switzerland?
A decent entry-level gaming PC capable of 1080p gaming might start around CHF 800-1000. A solid mid-range build for 1440p gaming could range from CHF 1200-1800. High-end builds for 4K or competitive esports can easily exceed CHF 2000-2500+. Prices fluctuate, so constant research is key.
Should I buy components from international retailers to save money?
While international retailers (e.g., Amazon.de) might show lower base prices, you must account for shipping costs, potential import duties, and VAT differences. Warranty claims can also be more complicated. For most components, purchasing from reliable Swiss retailers like Digitec Galaxus is often the safer, more convenient, and ultimately, often similar-priced option when all factors are considered.
Who should consider building their own gaming PC?
Anyone looking for maximum performance for their budget, specific component choices, a deeper understanding of their machine, or simply the satisfaction of a DIY project should consider building their own gaming PC. It's an excellent learning experience and often leads to a more personalized and powerful system.
What are the biggest risks when building a gaming PC?
The biggest risks include static electricity damage to components, bending CPU pins, forcing incompatible parts together, or improper cable connections. These can largely be mitigated by taking anti-static precautions, carefully following manuals, and being patient during assembly. A quality PSU also reduces risks of power-related damage.
Will component prices in Switzerland decrease in the near future?
Predicting future component prices is challenging, as they are influenced by global supply chains, new product releases, and market demand. Historically, prices tend to drop as new generations of hardware are released. Keeping an eye on tech news and retailer promotions will be your best strategy for anticipating price movements.
Embark on your journey to build the ultimate gaming PC in Switzerland today. With this comprehensive gaming pc build guide switzerland, you have all the knowledge to select the perfect components, navigate the local market, and assemble a machine that delivers unparalleled performance tailored to your gaming desires. Start planning your build now and elevate your gaming experience!
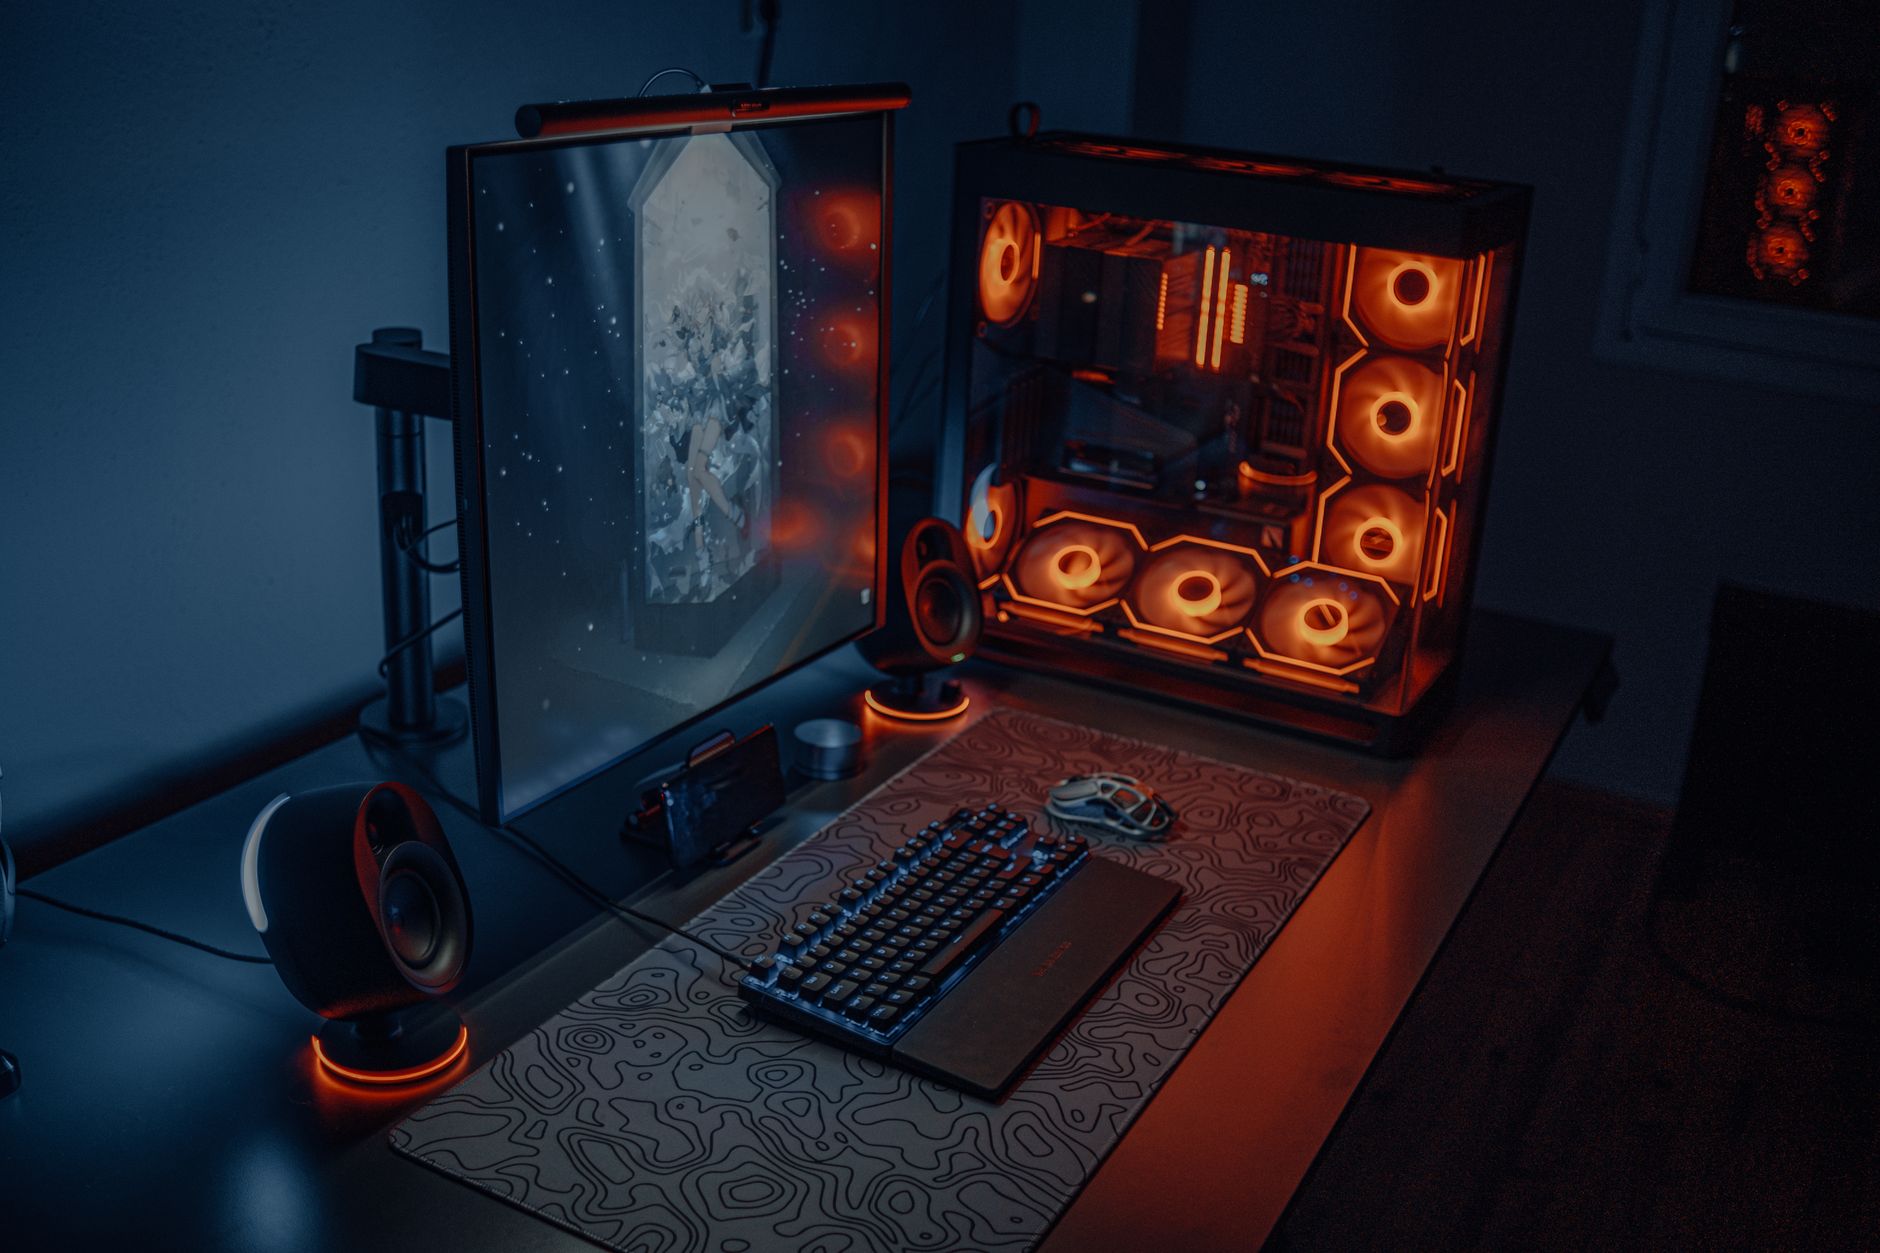
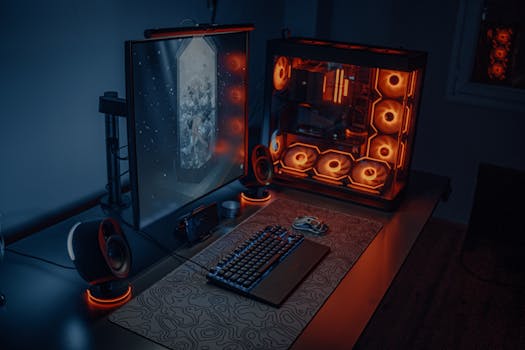 Photo: Atahan Demir / Pexels
 Photo: Mathias Reding / Pexels
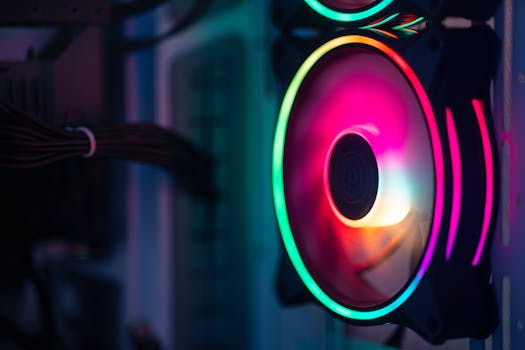 Photo: Necroform Art / Pexels
 Photo: Andrey Matveev / Pexels
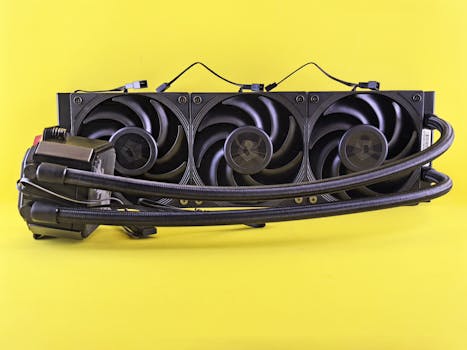 Photo: Andrey Matveev / Pexels